Accounting Server Installation |

|

|

|

|
ObjAcct Server Installation
The ObjAcct server installation utility (ObjAcctSuite.5.2.6.msi) is provided by Astra Schedule and provides simple, step-by-step instructions for selecting a database and installing the server application. To install the ObjAcct application, perform the following:
1.Launch the ObjAcctSuite.x.x.x.msi file.

2.Click Run.
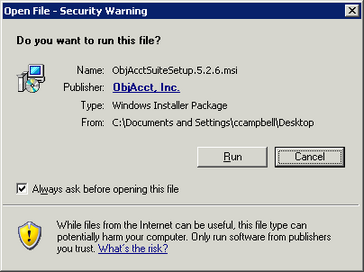
|
3.Click Next to begin the installation process.
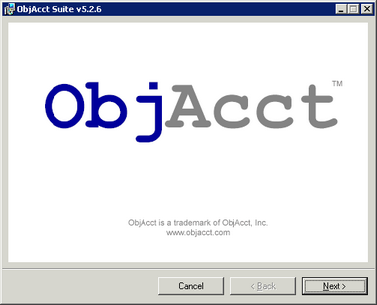
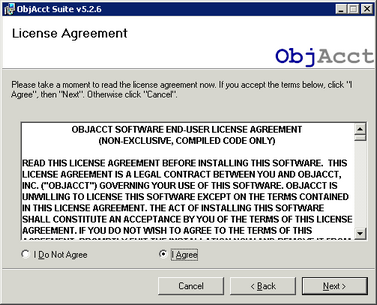
4.Select "I Agree" for the license agreement and then click Next.
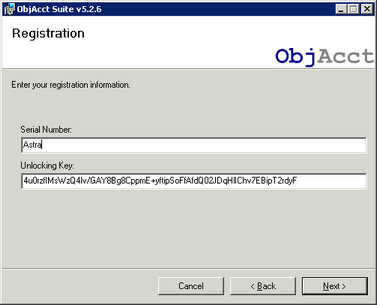
5.Enter the Serial Number and Unlocking Key provided by Ad Astra and then click Next.
6.Confirm the installation folder and then click Next.
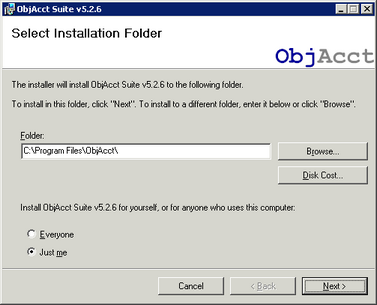
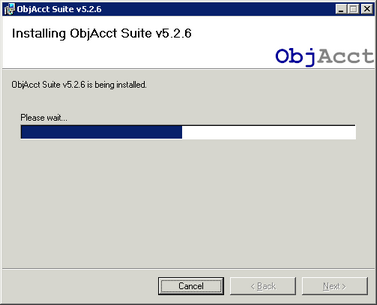
7.The ObjAcct Suite installation will begin.
8.Choose the appropriate SQL Server from the drop-down list and click OK.

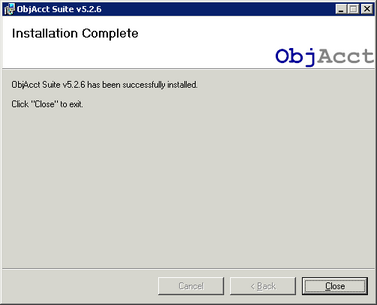
9.Once the installation is complete, click Close.
10.After the installation is complete, go to Start -> Programs -> ObjAcct -> Tools -> ObjAcct Framework Utility.
11.Click on the Virtual Directory tab.
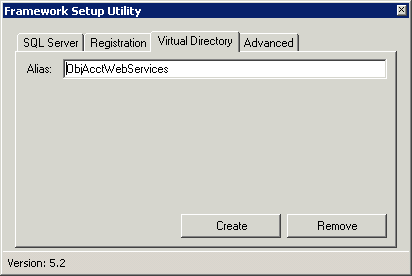
12.Modify the ObjAcct virtual directory name if desired or leave as the default.
13.Make a note of the name of the virtual directory. This will be used when installing Astra Schedule.
14.Click Create and then close the utility window.
The ObjAcct client application will be installed on the server as part of the suite. It can also be installed using the ObjAcct Smart Client installation utility, or deployed using the Astra Schedule application at a later date. With appropriate user permission, an Astra Schedule user can download the ObjAcct client installation at any time from within the Astra Schedule web application. See Accounting Client Installation for more information.